Rev 5 Changes and Upgrades

My goal has always been to consider every aspect of the Algae Scrubber concept and come up with a comprehensive solution that is easy to install and maintain.  I feel like I hit the mark pretty well with Rev 4.  The issue was that I created a bit of a monster when it came to fabrication – I have a lot of fine details and quite a few workarounds that were the result of the parts not quite working together exactly as planned, along with some part production issues (like tolerances, etc).  This resulted in excess production times and huge lead times.  I’ve learned many lessons since releasing Rev 4 in early 2016, so it’s well past time for a makeover.

Changes & Upgrades

Some parts are being revised; others are being completely re-imagined. This means that there will be some backwards-compatibility of new Rev 5 parts to older Rev 4 units (and a limited level of compatibility of certain parts with older versions). More on this below under “List of Changes & Improvements”

Rev 5 Availability & Pricing (updated February 2022)

Availability

  • Rev 5 is in development, and has been for some time…there have been many delays and roadblocks.
  • I am now projecting a Spring 2023 release date.
  • Sizes available will include L2, L4, and L8

Pricing

There will be a price increase for all sizes. I’ve kept prices stable for 5 years, while material costs have increased.
For anyone you gets on the “Interest List” prior to the official release date, the current retail pricing will still apply, which is:

  • L2: $399 + $25 shipping
  • L4: $549 + $35 shipping
  • L8: $849 + $45 shipping

** Shipping rates are subject to change and are for the US Lower 48 only. All other rates are quoted on an individual basis.

Rev 4 Availability & Pricing (updated February 2022)

Availability

  • Rev 4 units will be available at a discounted “Ding & Dent” price
    • Some parts may be blemished
    • Functionality will not be affected
    • Will include Generation 3.0 LED engine as soon as these are available
    • NOTE: Due to lead times on Gen 3.0 LED, Rev 4 Ding & Dent units with the 2.x engine will be available initially.
  • Production is active as of February 2022, and will be limited to approximately:
    • 100 L2s
    • 50 L4s
    • Minimal number of L8s (if any)
  • Purchase includes eligibility to receive certain backwards-compatible upgrades, when available
    • Primarily: Slot Pipe, Screen, Drain Control Valve, and Growth Chamber
    • Excludes upgrades related to Light Fixture
    • Parts will be provided at no material cost (only minimal shipping)
    • Upgrade offer will apply to all new customers since January 2020 (at minimum)

Pricing – Rev 4 Ding & Dent

All units will be discounted by 10%, with free shipping

  • L2: $399 + $25 shipping $359 Shipped
  • L4: $549 + $35 shipping $494 Shipped
  • L8: $849 + $45 shipping $764 Shipped

** Shipping rates are subject to change and are for the US Lower 48 only. All other rates are quoted on an individual basis. International customers will receive the equivalent discount on shipping

Backwards Compatibility of Rev 5 parts to Rev 4 Units

For anyone who currently owns a Rev 4 Turbo Algae Scrubber there are certain Rev 5 parts that will be backwards-compatible. I’ve listed compatibility at the bottom of each bullet list that follows:

List of Changes & Improvements

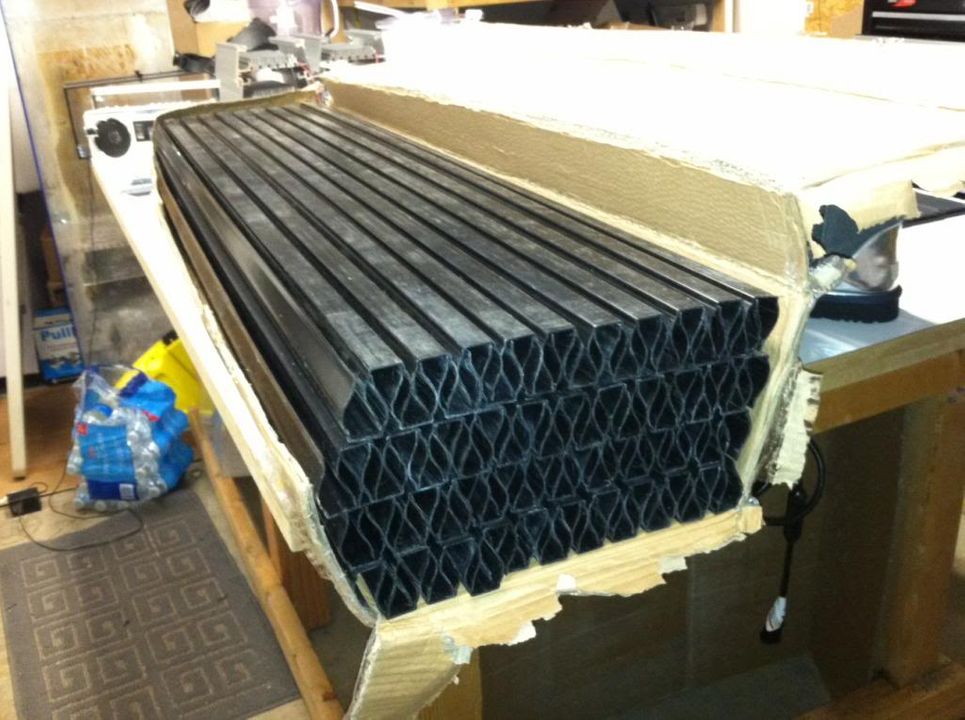
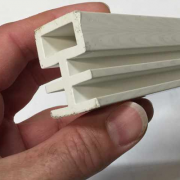
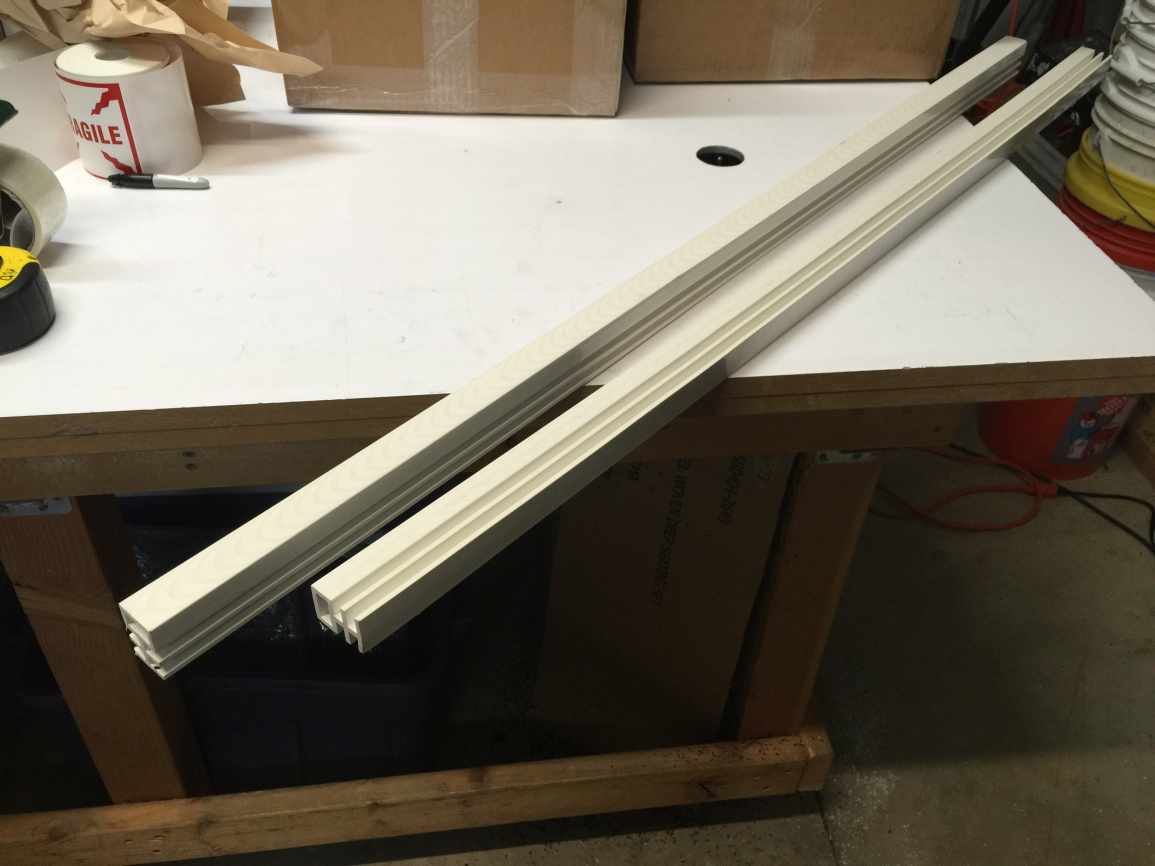
Light Fixture (form factor)

  • New heat sink
    • Modular design allows for literally any size array
    • Sealed (but no, you won’t be able to submerge it)
    • Revised mounting method
  • Generation 3.0 LED
    • New Driver/LED board design
    • New power supply
    • Multiple dimming options being developed
    • Same spectrum
    • LED Boards, Driver, Power supply are intended to be backwards-compatible to heat sinks used on all previous versions (Rev 1, 2, 3, and 4)
    • Goal: Apex compatibility (future)
  • Light Fixture “Rail” design will be maintained and improved
    • You will still be able to slide fixtures to the side to view growth
  • Goal (update: goal achieved): Ability to remove entire side panel & light fixture for maintenance
    • i.e., you will be able to remove the growth chamber from the side, in addition to sliding out the end or lifting out the top
    • Allows for installation in spaces with as little as 2″ of vertical clearance for maintenance without having to fully remove the scrubber
  • At least initially, the new fixture will not be backwards compatible with the current Rev 4 design
    • Compatibility is possible, but may require development of adapter parts (slated for possible future item)

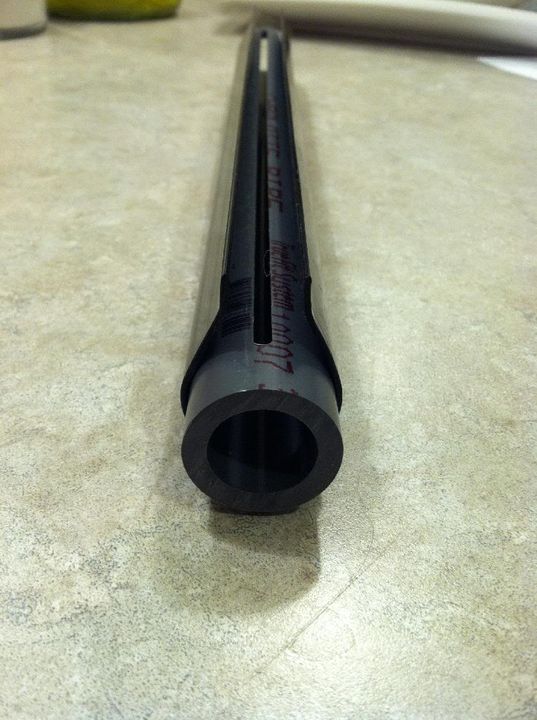
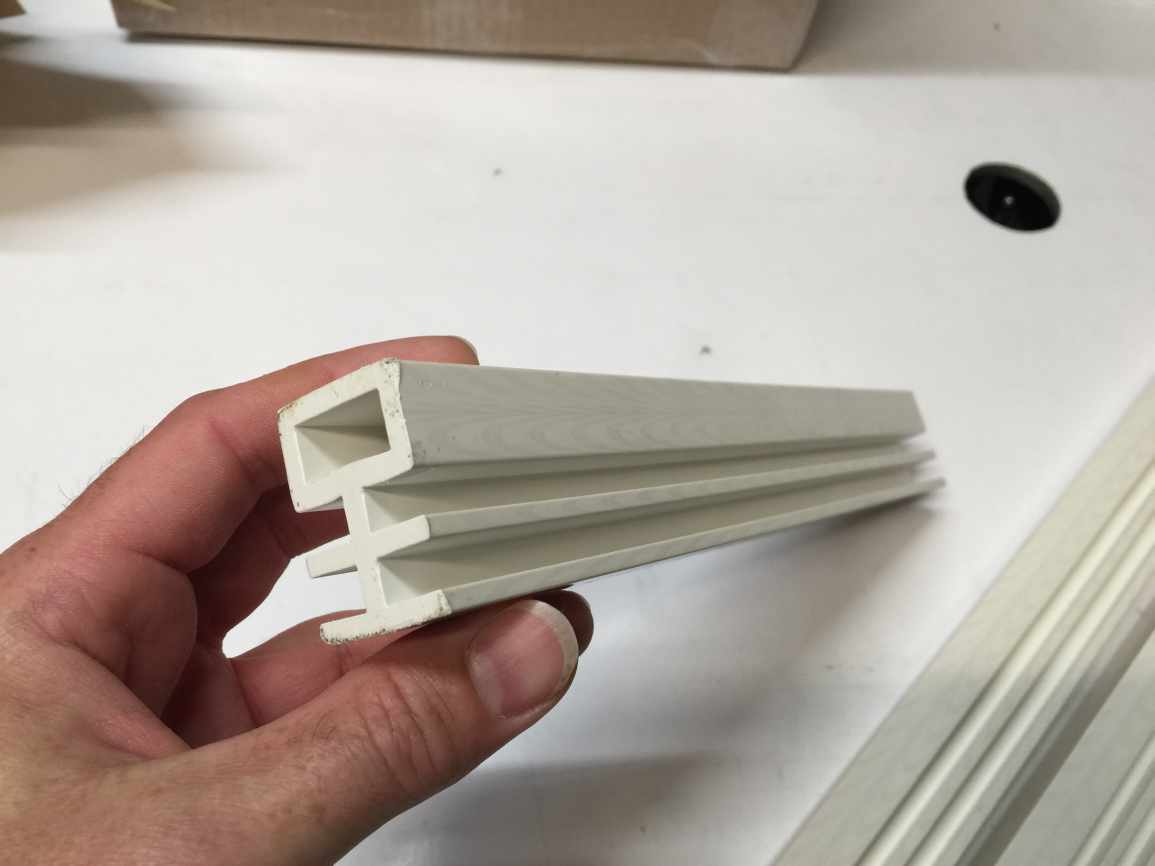
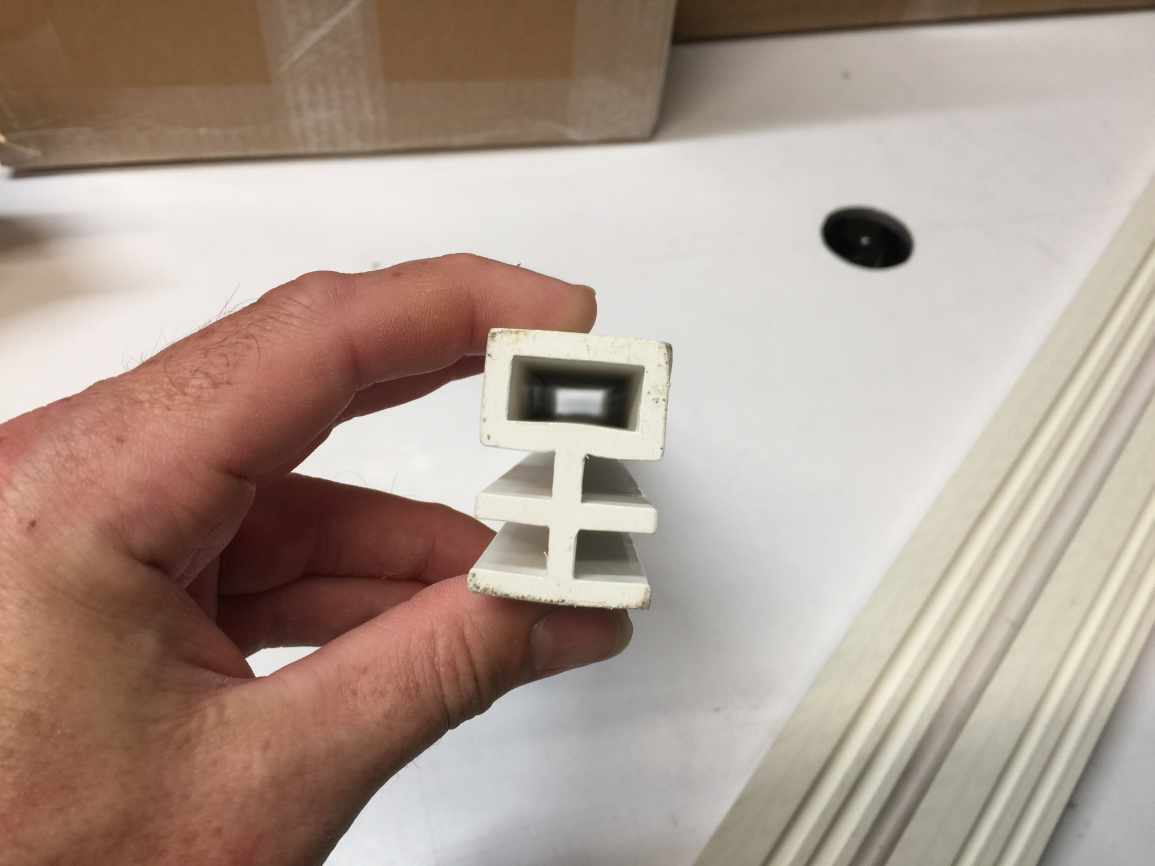
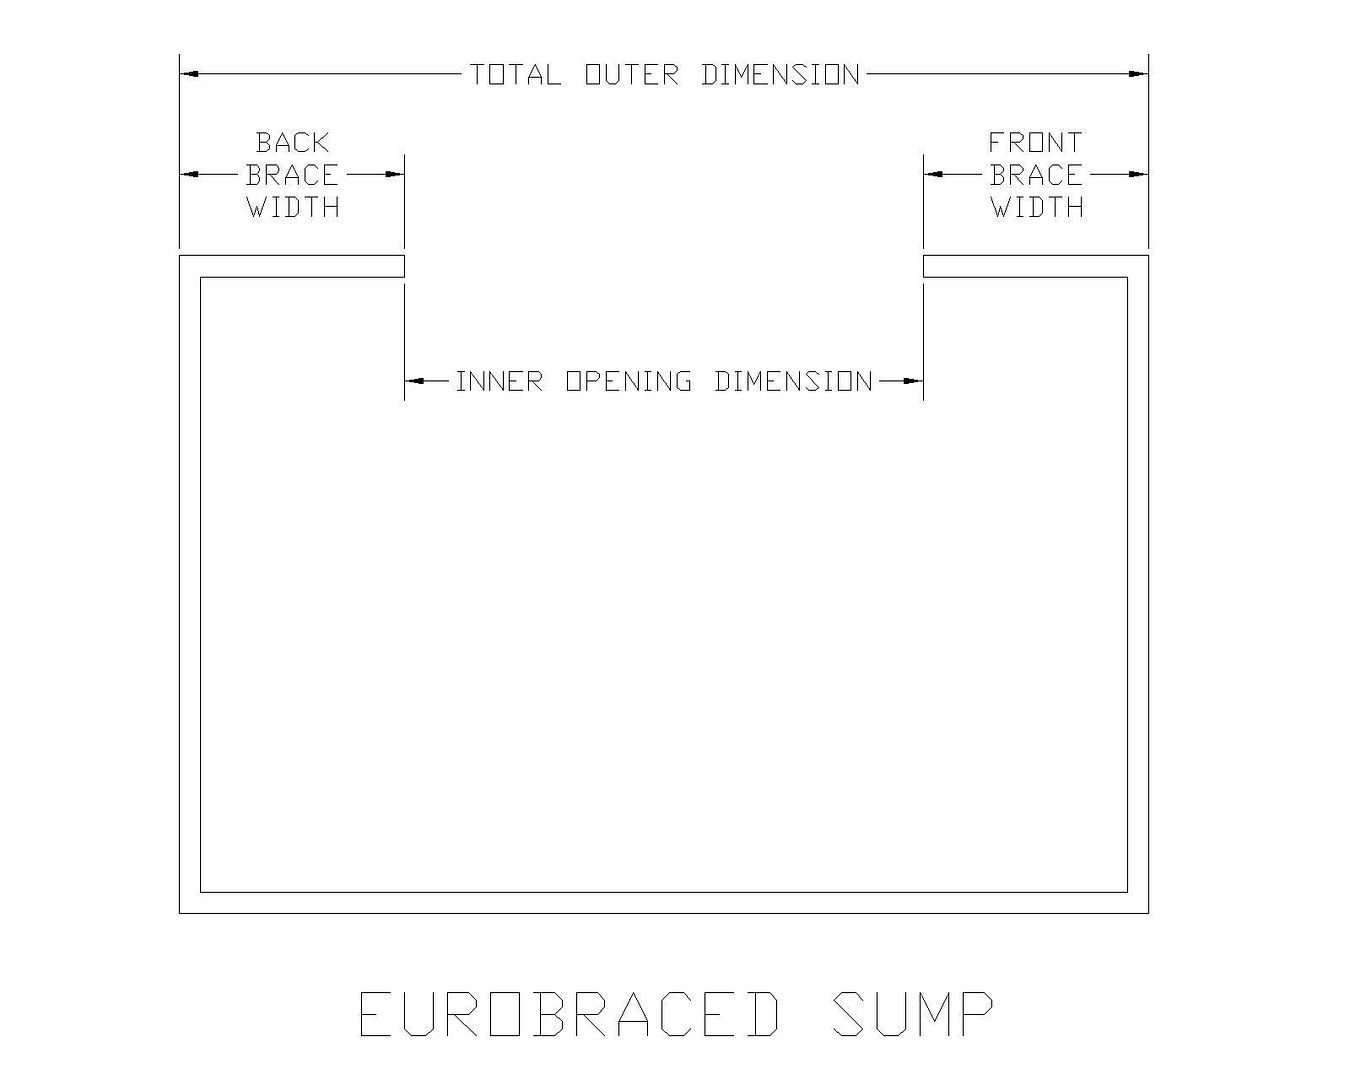
New Slot Pipe design

  • Brand new concept for water distribution on an Algae Scrubber
  • Solves a few minor issues that customers have mentioned
  • Goal (update: goal achieved): Metric and Imperial compatibility
  • Super secret so I can’t tell you anything else yet.
    • neener neener neener
  • Going after a patent on this one so no one else can rip it off or copycat it **AHEM**, or at least if they do, they can’t stop me from making it (since that’s really all patents are good for these days…)
  • Backwards compatible with Rev 4

New screen material

  • Still troubleshooting this one, so the Mortar Screen might survive to Rev 5 for a short time
  • Primary driver for this is that is sucks making screens
    • On the flipside, my right arm gets pretty buff every time I make a large batch of scrubbers
  • Also super secret
  • Backwards compatible with Rev 4 (when used with new Slot Pipe)

End Cover Plates changing to a “door” design

  • Details will just have to wait until the reveal
  • May be backwards compatible with Rev 4

New injection molded Drain Control Valve

  • Again, another part that is kind of a pain in the **** to make
  • Will still allow for remote-control of the valve position for installations where the drain area is not easily accessible
  • Will not look “trailer park” anymore (I had one customer call it that, in a funny haha way)
  • Backwards compatible with Rev 4

Revisions to the L4 and L8 Growth Chambers

  • Yet another part that was great on paper, but takes way too much time to assemble
  • Otherwise will function the same and will look a bit prettier
  • Backwards compatible with Rev 4

A few other minor tweaks, but that’s the big stuff

Getting on the “Interest List”

There is no commitment and no pre-payment required. Once I have a firm delivery date, I’ll start taking orders.

To get on the “Interest List”, please go to the Ordering Page and follow the instructions to send me an email. This will open up a Support Ticket (it’s just email on your end)

Thank you!!

Bud Carlson
Turbo’s Aquatics

Light Blockers

I sell Light & Spray blockers that snap over 3/4″ PVC pipe.

I had these specifically designed and manufactured for the older versions of my Turbo Algae Scrubbers.  These are black extruded ABS and work fantastic!

They hang down on either side of the top edge of the screen and very effectively block light from reaching the slot/screen junction point.  This reduces the tendency for algae to grow in this area, which also means that there is a very reduced likelihood of getting any sideways spray (or “streamers”) that might result in water on the floor.  Even if there is a “streamer”, these will act to contain it in (almost) any case.  I have to fall short of guaranteeing that, because I can’t control how you cut and install them!!

A side effect of the Light & Spray blockers is that as the algae grows into a thick mat and makes contact with the lowest edge point of the blockers, the water is forced down through the algae mat rather than flowing over the top of it.  This tends to keep the inner area of the mat better hydrated, extending the length of time that you can let your scrubber grow before detachment starts to become an issue.

I have plenty, and can get more!

I cut these to your desired size down to an accuracy of 1/8″.  You will want to have more than one section of blocker such that there is a gap where your screen fastener is located (zip tie, rotatable ring, velcro, etc).

Prices are $10 for each 12 total inches of blocker material, then $1 per inch or fraction thereof after that.  For instance:

1x 12″ section: $10
2x 12″ section: $20
2x 6″ section: $10
1x 3″ and 2x 5″ (13″ total): $11
1x 8″ and 1x 6.5″ (14.5″ total): $13

Shipping is $5 to the lower 48 of the US for any order where the maximum section length does not exceed 12″

For any order with a section longer than 12″, the shipping is $8

Open a ticket to order by sending an email to support@turbosaquatics.com.  Shopping cart is a low priority for me right now, as soon as that’s up I’ll post a link to it here.

Payments can made via PayPal or Dwolla (I will send out an invoice)

Turbo Algae Scrubber Dimensions

Here are the overall dimensions (L x W x H) of the Rev 4 L-Series Algae Scrubbers from Turbo’s Aquatics:

L2: 11″ x 6″ x 7″
L4: 17″ x 6″ x 7″
L8: 17″ x 6″ x 11″
L16: 17″ x 6″ x 19″ **

** Note: The L16 height was incorrectly listed as 15″ (my apologies)

Support / Mounting Brackets

Extruded PVC Brackets are now in production!  The following pics are of the “sample” run parts that I received and tested.  They are white PVC, but the final product will actually be black PVC.

These will be available soon:

For up to 24″ length Rails, $30 for a set of 2, shipped (with or without scrubber purchase)
For between 24″ and 36″ length Rails, $40 for a set of 2, shipped (larger/ additional shipping tube)

I can ship these internationally as a stand-alone item, but the shipping is a killer…just FYI.

These will work for sure for the L2 and L4, very likely to work for the L8 (I need to test a few configurations still). They may not be stable enough for the L16 – I still need to thoroughly test this (the sample parts I have been working with are not 100% functional so I only have limited “data”)

The original idea was to make this one part of a 2-piece bracket – the second piece being a 3/4″ wide piece of 3/8″ thick acrylic, slid through the hole, that could span over the top of a sump – and then the PVC part would serve as an I-beam underneath it and anyone could just cut it to fit between the inner edges of their sump rim. This can still be done, but it’s actually not necessary…

All you need to do it cut off the “T” braces underneath and let the “tube” section extend over the lip of your sump. You can also notch a section out with a hacksaw or coping saw and have a section that overhangs the lip of your sump. Or, you can drill it and insert a thumbscrew, you can bond something to it, etc. Very versatile. If you wanted to secure your scrubber to these, you can drill a hole in the ABS Base of a Turbo Algae Scrubber, then drill a pilot hole in the Rail, and screw it right down to the rail with a standard screw (Stainless Steel recommended).

If you wanted extra strength, there is probably an aluminum extrusion or steel bar that could be slid into the hole as well.

But…they’re pretty strong all by themselves…which was what I was going for!!

48″ Rails, ~36″ Span: 0 lb

40 lb

80 lb

Alternatively, customized acrylic brackets are still available.  Here is typically what they look like (most will be made from all clear acrylic)

The base of the Rev 4 has a “waffle” pattern in order to reinforce it, so the braces made will include a foam strip that will “bite” into the base pattern (instead of the rubber strip shown in the pic above)

In order to make these, I just need a few dimensions: generally, the inner and outer dimensions of the span across which you will be placing the brackets.

Here is an example of how the brackets are made to fit:
Note: this example does not show the thumbscrews, but they will be included

Here are a few examples of the measurements you will need to provide.

For a standard or “stock” glass tank with a trim brace:

For a rimless tank (glass or acrylic):

For a eurobraced tank:

Note: in the above example, in most cases the Front and Back Brace dimension will be the same, but please double check this.

Here is as example of one customer’s installation: they cut a notch where the rail sits on their sump rim (in this case, it’s rimless glass, with a shelf around the inside perimeter)

You will generally only need about 1/4″ of the full-profile of the rail to be “hanging over” the front/back of your sump.  This way, if you accidentally bump the scrubber and/or rail, it will “bind” rather that just sliding out of the way.

I also recommend installing a strip of sticky-backed weatherstripping on top of the rail.  This way, the scrubber base (which is a “waffle” pattern) will “bite” into the foam and keep it in place.

Parts list for Rev 4 Algae Scrubbers

All Rev 4 Turbo Algae Scrubbers come standard with the following components:

Main Unit, black ABS:

  • Base with J-channels bonded in place (these guide the LED fixtures)
  • End cover plates
  • Lid
  • False Bottom

Growth Chamber:

  • Clear Polycarbonate with 4 o-rings for a watertight seal into the base during operation
  • A tube of reef-safe silicone grease is also included.

Slot Pipe:

  • Black ABS with 3/4″ slip fittings on each end, built-in light/spray blockers, and screen retention pin

Growth Screen:

  • #7 mesh plastic canvas coated in mortar

Fully Assembled LED Fixtures:

  • (2) Custom black anodized heat sinks with ABS end caps & external dimming knob(s)
  • (2) LED & Driver boards
  • (1) Power supply with US wall plug

Inlet Plumbing Parts:

  • End cap for Slot Pipe
  • 3/4″ slip-to-thread adapter (straight)
  • 3/4″ slip-to-thread adapter (street elbow)
  • 3/4″ thread-to-thread union
  • 3/4″ thread-to-hose-barb adapter
  • 3/4″ Two Little Fishies ball valve
  • (6) Zip Ties for hose connections

Drain Plumbing Parts:

  • (2) 2″ to 1.5″ PVC adapters
  • (2) 12″ sections of 1.5″ PVC pipe
  • (1) bubble reducer coupling with integral flapper valve (for drain control)
  • (1) 4″ x 8″ 200 micron felt draw string filter bag

Cleaning & Maintenance Parts:

  • Denture toothbrush
  • Grout & Tile scrub brush
  • Plastic scraper and/or monogrammed Lil Chisler scraper

*Note: 24″ of 3/4″ ID Vinyl Hose is no longer included

Older version User’s Manual

I haven’t had much free time to update this manual for the Rev 4.  Actually, the PDF attachment to this Article is the Rev 1 manual with strikeout edits to take out what no longer applied to the Rev 2 and Rev 3!  I never updated the manual for that version either….

However, here is the updated information that is specific to the Rev 3, with some notes about the dimmable driver boards.

NOTE: THIS MANUAL ONLY PARTIALLY APPLIES TO THE CURRENT VERSION (Rev 4)

Please see the main page of the Support Page for all current Articles

Rev 3 Specific Notes:


DRAINS

Rev 4 owners: click here instead > Drain Control Valve (inline flapper valve)

The threaded adapters go into the appropriate drain holes.  There are two 12″ sections of pipe included, cut these to fit as follows:

Cut 1.25″ pipe so that side drain is near the surface of operating water level.  I usually do this above the water surface so that if for some reason it is running a lot, you hear it.

Cut the 1.5″ pipe such that you can position the valve so that it drains out right below the water level, up to about 1-1.5″ below the surface.  Alternatively, you can just submerge one end of the valve.

Applicable for the Single-Union Ball Valve only: The drain valve has no metal parts and is fully submersible.  Tightening the valve nut will “lock” the valve in position, so “tune” the drain flow as desired, then tighten the nut a bit.  To adjust, loosen the nut until the valve moves easily, then re-tighten.

If bubbles coming out of the scrubber are an issue, use the included filter sock and 2 zip ties.  Connect the 2 zip ties together to make a larger one – run them through the filter sock handle first, and then “hang” this from the handle of the ball valve.  Tighten the zip-ties until the top of the filter sock is at or just below the sump water level.  You don’t need all of the water to run through the sock, you are just using the sock to force bubbles to the surface.

A note on bubbles – these will be less of an issue as the screen matures.  Unit noise will also fade as the screen matures (related to bubbles).


WATER SUPPLY & SLOT PIPE

Rev 4 owners: click here instead > Bonding PVC to ABS using Transition Cement

The water supply/inlet can be performed a few different ways, using the included parts:

You can screw the thread-to-barb elbow directly into the threaded hole and then attach the vinyl hose to that, or you can use the double-threaded adapter, with the union screwed onto that, and the elbow screwed into the union.  Either way, you want to screw in the adapter so that you have right around 1/4″ of the threading exposed inside the box.  You will not need to adjust this during cleaning (you will likely never adjust this part again)

The screen (if you haven’t found it) is packed in front of one of the light fixtures.  Remove the light blockers, insert the screen into the slot, and rotate the rings so the “gap” is on top.

Next, insert the slot pipe into the box, seat one end on the threaded adapter you already installed, and lower into place (the thumbscrews will cradle the pipe.  Now, screw the gray plug (gray cap with the threaded fitting) into the other hole.  Hold the slot pipe with the screen vertical and tighten the gray plug.  To remove the pipe, unscrew the gray plug until you can slide the slot pipe assembly slightly, then lift it out.

With the slot pipe secured, start the water flow and verify that there is no water spraying or dripping out of the ends of the pipe.  Tighten the gray plug if necessary.  The o-rings inside the ends of the slot pipe should seal up the assembly.  Extra o-rings are included with your scrubber, should you lose one.  Install the light/spray blockers, and rotate so that they are not diverting the flow.  Place the lid on the unit.


LED LIGHTS

Rev 4 owners: click here instead > LED Fixture Setup and Operation

It’s pretty straight forward:

For the L2, connect the power supply to the fixture with the 2-port connectors, connect the 2 fixtures together with the 4-port connector, and off you go.

For the L4, connect one power supply to each fixture, and plug in the power supplies.


The following section is specific to the Rev 2 and Rev 3 models with the v1 LED boards (which contains jumper terminals between the pairs of LEDs)

The v1 LED boards have jumpers between each LED pair, which allows you to increase the intensity once you have a base of growth.  The jumpers come pre-configured in the “low” intensity setting (meaning, all LEDs are in “parallel” – which splits the current between the 2 LEDs of each pair).

DO NOT CONFIGURE JUMPERS WITH POWER APPLIED TO THE LEDs.  Doing so will void the warranty on the LED boards (because you will blow out all of the reds, instantly)

The Blue pair should always remain in Parallel – do not change the blue jumper position on any of the boards (this is the centermost jumper block)

Each red pair can be set to ‘high’ intensity by removing the pair of jumpers and plugging one jumper across the middle set of pins between each pair.

To change the jumper settings, unplug the driver from the wall and let the fixture sit for 30 seconds, then unplug the driver from the fixture.  Remove one end cap of the MakersLED heat sink by removing the 4 screws, and remove the acrylic splashguard.  Configure the jumpers as desired, then re-assemble the fixture.


The following section is specific to the Rev 4, or to a handful of Rev 3 models I sold that contained the driver board (these can be identified by the presence of a dimming knob on the back of the heat sink)


The potentiometers on the driver board (called SMD, or Surface Mounted Device, potentiometers) are pre-configured with the reds at 100% and violets at 50%.

On the back of each fixture, there is an external dimming knob (potentiometer).  This will dim all the LEDs in unison, in proportion to the setting of the SMD potentiometer.  So with the default setting, if you turn the external knob to 50%, the reds will be at 50% and violets at 25%.  The dimming knob should be set at 50% or less initially.  This can stay at that level for quite a long time, for some, indefinitely.

An important note: the external dimming knob is a specific type called an Audio Taper Potentiometer, which allows for very linear operation, but it works OPPOSITE of what you would expect.  Turn all the way left (counterclockwise) to obtain maximum intensity, turn the knob all the way right (clockwise) to obtain minimum intensity (about 10%).  The knob is removable, but is shipped such that the 12 o-clock position is 100%.  With this reference point, 10% is at about the 11 o-clock position, so 50% should be near the 5 o-clock position.

As for the number of hours/day to run the LEDs, in the past, my recommendation has been 9 hours/day max at first.  However, with the dimming knob function, you may be able to further reduce the intensity to a level where you can run for longer hours (18, 20, 22, or more) without causing “photosaturation” – which is when you have no algae growth, and way too much light.  Write down your intensity and duration settings and then note the resulting growth a few times a week, and take pics if you want.  You can text pictures to me at (my cell phone number is on the invoice that came with your scrubber) if that is more convenient than e-mailing them.  I will provide feedback and you will be helping me establish useful guidelines.

I would recommend initially setting the dimming knob in about the 6 or 7 o’clock position, and running the LEDs for 12 to 14 hours/day for the first week.  For the second week, 6 o’clock position, 14 hours/day.  By that time, you should need to do your first cleaning, which is just a swipe of your palm across the screen, and a very light rinse with slow running, room temperature tap water (or, just pour a cup of tank water over the screen after the palm-swipe).  Then, continue with the 6 o’clock / 14 hrs/day for another week.  Depending on growth, you may be able to increase intensity a bit.  As I get some feedback on these recommendations, they may change.